How to Defrost Chicken in the Microwave (Easy Method)
Forgot to thaw your chicken? No worries! Learn how to defrost chicken in the microwave quickly and safely with our simple guide.
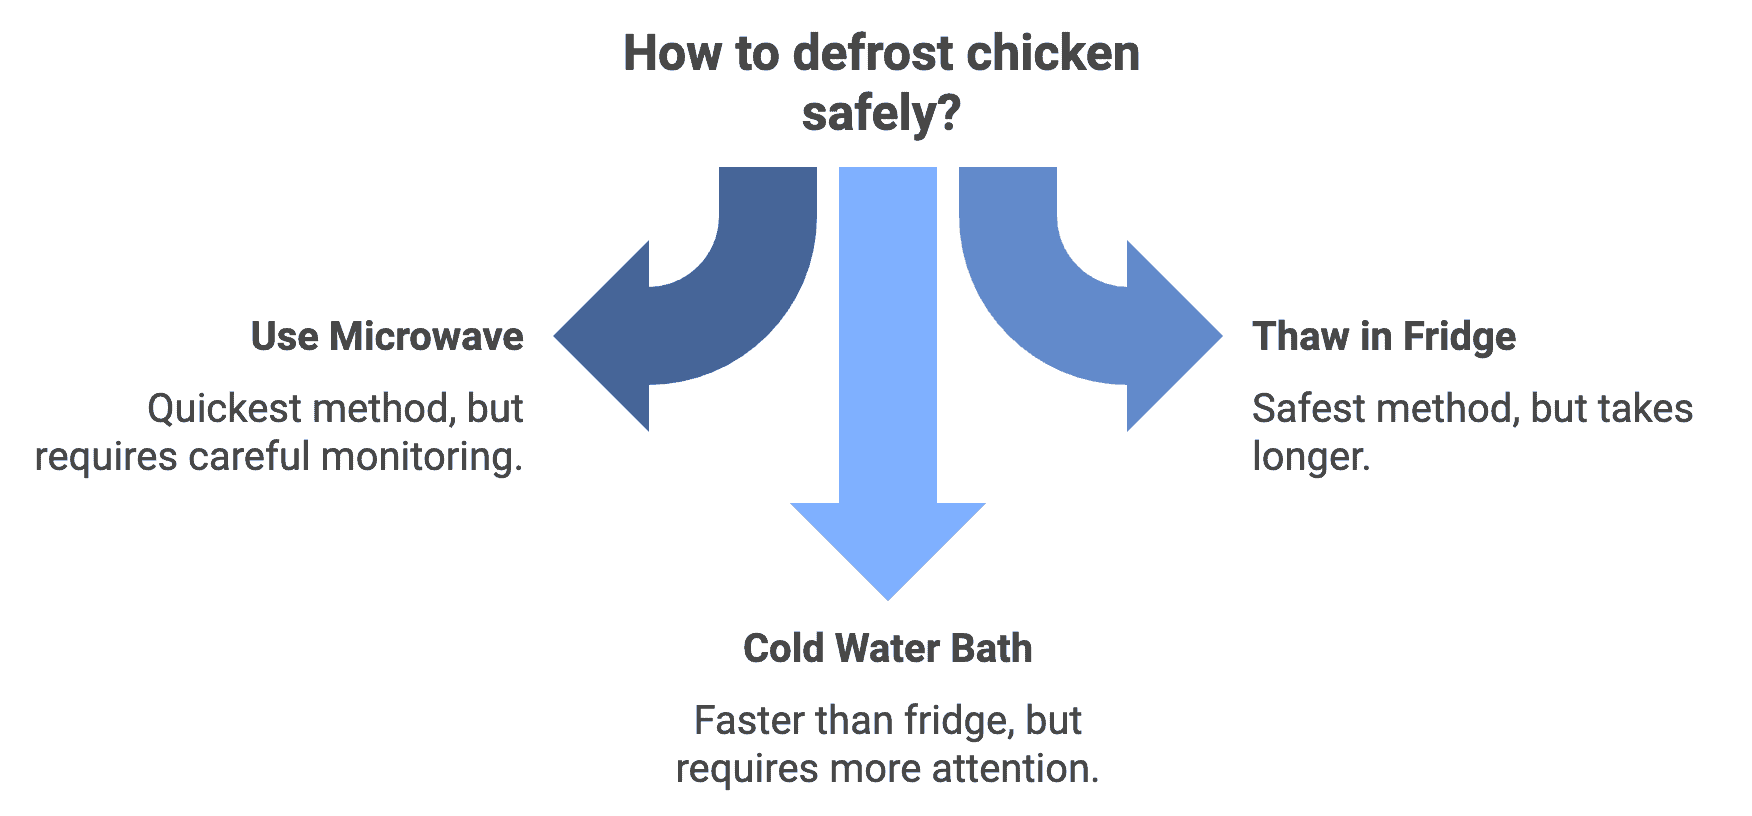
Using the refrigerator defrost setting method is the best approach as it brings the chicken to a safe room temperature slowly. But, if you are in a pinch. you can thaw even a whole chicken or other chicken parts quickly in the microwave. But is this microwave approach the best way to defrost your raw chicken safely? Let’s find out.
Why Proper Defrosting Matters
So, you’re in a hurry. We get it! Dinner needs to be on the table now, and that rock-solid chicken breast straight from the freezer is staring back at you. The microwave defrost button is practically winking, promising a quick fix. But before you hit start and dive in, let’s talk about why proper defrosting, especially in the microwave, isn’t just a suggestion – it’s a food safety MUST.
Because honestly? Rushing the defrost process, especially with chicken, can open the door to some pretty nasty problems, and we’re not just talking about rubbery texture. We’re talking about food safety – your health and well-being!
Here’s the breakdown of why proper defrosting is non-negotiable, and why skipping steps, especially in the microwave, can be risky:
1. The Temperature Danger Zone is Real (and Bacteria Love It!)
Think of the “Temperature Danger Zone” (between 40°F and 140°F or 4°C and 60°C) as a bacteria buffet. When chicken thaws improperly, especially at room temperature or unevenly in the microwave, parts of it can linger in this zone for extended periods. This is prime time for harmful bacteria like Salmonella, Campylobacter, and E. coli to multiply rapidly.
- Microwave Mishap: If you don’t follow the defrost settings precisely, you can easily create warm spots and edges that quickly enter this danger zone, even while the center is still frozen.
2. Uneven Thawing Leads to Uneven Cooking (and Potentially Undercooked Centers)
Imagine thawing your chicken on the countertop. The outer layers will warm up much faster than the inside. The same can happen in the microwave if you’re not careful.
- The Problem: This uneven thawing can lead to uneven cooking later on. You might end up with chicken that seems cooked on the outside but is still raw and potentially dangerous in the center. No one wants to bite into that!
- Microwave Complication: Because microwaves heat so quickly and often unevenly, they exacerbate this problem. You might think you’ve defrosted the chicken fully, only to find ice crystals deep inside when you go to cook it.
3. Compromised Texture and Flavour (Okay, Less Scary, But Still Annoying!)
Beyond food safety, improper defrosting, especially aggressive microwave thawing, can negatively impact the quality of your chicken.
- Texture Troubles: Partial cooking during defrosting can lead to a tougher, drier texture when you finally cook it properly.
- Flavour Fading: While less of a health risk, rapid and uneven thawing can also subtly degrade the flavour of the chicken. You’re starting with a fantastic ingredient, why not treat it right from the start?
Bottom Line: Proper Defrosting = Food Safety + Better Food
Taking the extra time to defrost chicken correctly, whether it’s in the refrigerator (the safest method!) or carefully using the microwave, is a crucial step in safe food preparation. It’s not just about convenience; it’s about protecting yourself and your family from foodborne illness and ensuring you end up with delicious, properly cooked chicken every time.
In the next section, we’ll dive into the right way to defrost chicken in the microwave (because sometimes, you really are in a pinch!). But for now, remember: don’t rush the defrost. It’s worth the wait!
Microwave Defrosting: A Step-by-Step Guide (When You’re Really in a Pinch!)
While the refrigerator is always the safest and best way to defrost chicken, the microwave can be a last resort if you’re seriously short on time. But you must follow these steps carefully to minimize risks and maximize your chances of a safely defrosted chicken.
Step 1: Prep Your Chicken (and Your Microwave!)
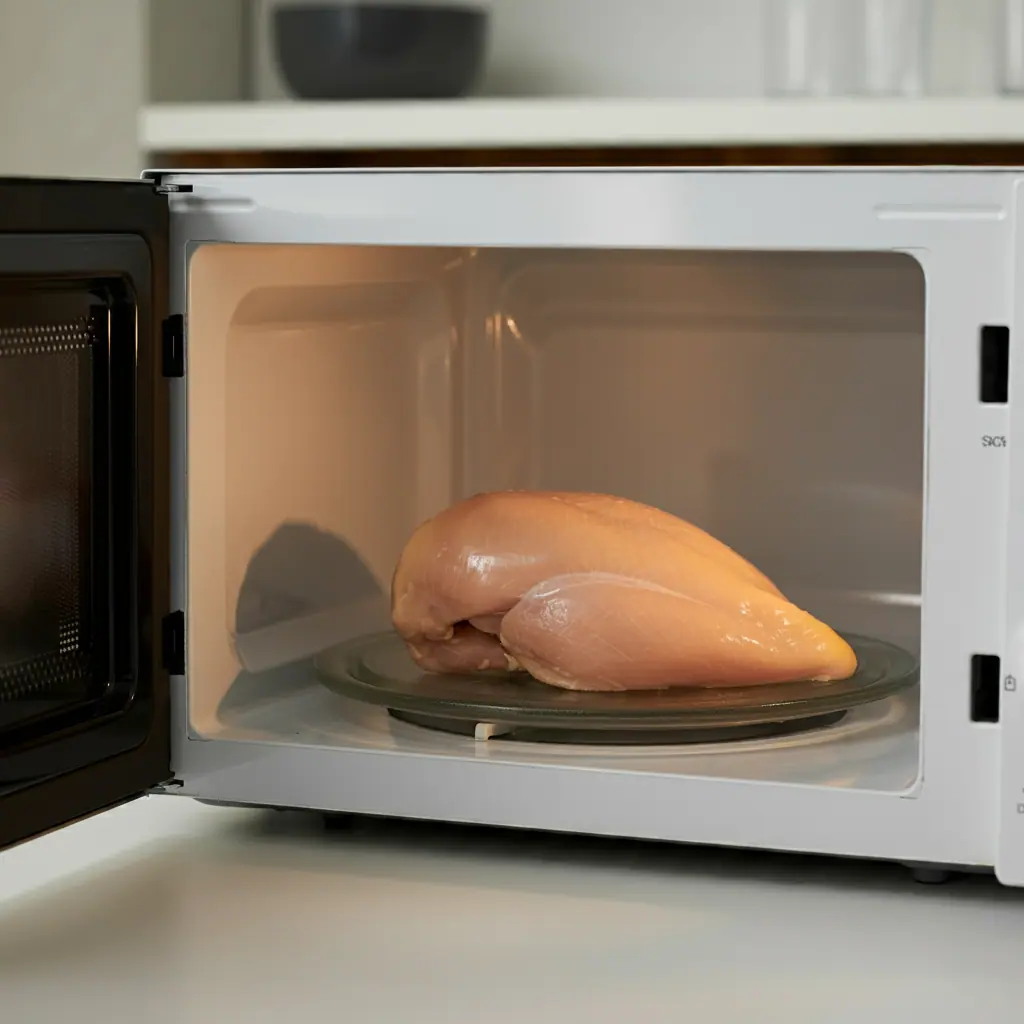
- Remove Packaging: Take the chicken out of all of its packaging. This includes plastic wrap, foam trays, and any butcher paper. Packaging can trap heat and lead to uneven defrosting, or even melting plastic in the microwave!
- Place on Microwave-Safe Dish: Put the chicken on a microwave-safe plate or dish that can catch any juices that release during thawing. This prevents a mess in your microwave and keeps the chicken from sitting in its own liquid.
- Know Your Chicken Pieces: Smaller pieces will defrost faster than larger ones. If you have a mix of sizes (like breasts and thighs), try to defrost them separately if possible, or at least be mindful of the size differences when checking for doneness.
Step 2: Use the “Defrost” Setting (or Low Power – Crucially Important!)
- Engage the Defrost Function: Most microwaves have a “Defrost” setting. USE IT! This setting cycles the microwave on and off at a lower power level, which is key to preventing cooking the chicken during defrosting.
- Enter Weight (If Possible): Some microwaves with a defrost function ask for the weight of the food. If yours does, enter the weight of your chicken as accurately as you can. This helps the microwave estimate defrosting time.
- No Defrost Setting? Use Low Power (30-50%): If your microwave doesn’t have a dedicated defrost setting, use the lowest power level you can (usually around 30-50% power). This mimics the cycling action of the defrost setting. Don’t just crank it up to full power!
Step 3: Defrost in Short Intervals and Check Frequently
- Start with Short Bursts: Begin with short defrosting intervals – usually 1-2 minutes at a time for smaller pieces, and maybe 3-5 minutes for larger portions. It’s better to under-defrost and repeat than to over-defrost and partially cook.
- Pause and Check Between Intervals: After each interval, STOP the microwave. This is crucial!
- Flip the Chicken: Turn the chicken pieces over to ensure even thawing.
- Separate Pieces: If the pieces are starting to thaw and separate, do so. This prevents them from sticking together and ensures each piece defrosts evenly.
- Check for Thawing: Gently poke the thickest part of the chicken. You want it to be thawed but still very cold and slightly icy in the center. You don’t want it to be warm or starting to cook.
Step 4: Continue Defrosting (Carefully!) Until Just Thawed
- Repeat Intervals as Needed: Continue defrosting in short intervals, checking and flipping between each, until the chicken is mostly thawed but still very cold.
- Don’t Aim for Fully Thawed: It’s okay, and actually preferable, if the very center of the thickest part is still slightly icy. It will continue to thaw as you prepare to cook it. You absolutely DO NOT want the chicken to be warm or cooked in any areas!
Step 5: Cook Immediately! (This is Non-Negotiable!)
- Immediate Cooking is Key: Once you’ve microwaved chicken to defrost it, you MUST cook it immediately. Do not put it back in the refrigerator to cook later.
- Why Immediate Cooking? Microwave defrosting can start to warm the chicken unevenly, potentially bringing parts of it into the temperature danger zone for longer than is safe. Immediate cooking minimizes the risk of bacterial growth.
Important Warnings and Reminders When Microwave Defrosting Chicken:
- Microwave Defrosting is Not Ideal: Always remember that refrigerator defrosting is the safest and recommended method. Microwave defrosting should only be used when you are truly short on time.
- Uneven Defrosting is a Risk: Microwaves heat unevenly. Be vigilant about checking and rotating the chicken to minimize this.
- Partial Cooking is Possible: Over-microwaving can easily start to cook the chicken, which is undesirable and can lead to tough, unevenly cooked meat in the end.
- Food Safety First: If at any point the chicken appears to be cooking, smells cooked, or feels warm to the touch in any areas, it’s best to err on the side of caution and discard it if you are concerned about food safety. While this is wasteful, your health is more important.
In Conclusion: Microwave defrosting is a fast option, but it requires your full attention and immediate cooking. Treat it as a last resort, and always prioritize refrigerator defrosting when you have the time!
Handy Chart for Microwave Defrosting
Weigh Your Chicken Use this handy chart for defrosting times:
| Weight (lbs) | Time (mins) |
|---|---|
| 0.5 – 1 | 3 |
| 1 – 1.5 | 5 |
| 1.5 – 2 | 6 |
| 2 – 3 | 8 |
Tip ✖
Food safety organizations recommend only thawing in the refrigerator, or cold water method.
Cold Water Thawing: Faster Than the Fridge, But Keeps Food Safe!
If you’re still hanging in there and haven’t just yelled ‘OKAY, I GET IT!’ at your screen already because of my microwave defrosting warnings…, read on about another cool method to thaw your chicken or meat.
Sometimes you need chicken thawed a bit faster than the overnight refrigerator method allows, but you’re wary of the microwave. Enter cold water thawing. This method is a good middle ground: faster than the fridge, but still maintains a focus on food safety when done correctly.
Here’s how to safely and effectively thaw chicken using the cold water method:
Step 1: Ensure Proper Packaging is KEY – Waterproof is a Must!
- Absolutely Waterproof Packaging: This is non-negotiable. Your chicken must be in a leak-proof, airtight bag. This prevents water from getting to the chicken, which can lead to waterlogged, flavourless meat and, more importantly, prevent bacteria from the surrounding environment contaminating the chicken.
- Original Store Packaging Often Isn’t Enough: The flimsy plastic wrap from the grocery store is usually not sufficient. You’ll likely need to place the chicken in a heavy-duty zip-top freezer bag or a tightly sealed plastic bag.
- Double Bag for Extra Security: For extra peace of mind, especially if your bag seems thin or you’re thawing a larger amount, you can double-bag the chicken.
Step 2: Submerge the Chicken Completely in COLD Water
- Large Bowl or Sink: Use a large bowl or a clean sink. Make sure it’s thoroughly cleaned before you begin.
- Cold Tap Water: Fill the bowl or sink with cold tap water. The water must be genuinely cold. Warm water will encourage bacterial growth.
- Completely Submerge: Ensure the chicken is completely submerged in the cold water. If it floats to the surface, weigh it down with a plate or a sealed bag of ice.
- Water to Chicken Ratio: Use enough water to completely surround the chicken.
Step 3: Change the Water Every 30 Minutes (Crucial for Safety!)
- Set a Timer: This is the most important part for safety. Set a timer for 30 minutes.
- Change the Water Frequently: Every 30 minutes, you must drain the old water and refill the bowl or sink with fresh, cold tap water.
- Why Change the Water? The surrounding water will slowly warm up as it draws coldness from the frozen chicken. By changing the water every 30 minutes, you maintain a consistently cold temperature around the chicken, keeping it out of the danger zone for extended periods and minimizing bacterial growth.
Step 4: Thaw Time Varies by Size (Estimate and Check)
- Estimate Thaw Time: Cold water thawing is faster than refrigerator thawing, but still takes time. Estimate thaw times as follows (these are estimates, always check!):
- Small Chicken Pieces (boneless, skinless breasts): 30 minutes to 1 hour.
- Medium Chicken Pieces (bone-in parts, thighs, drumsticks): 1-2 hours.
- Whole Chicken (3-4 pounds): 2-3 hours (may be longer for larger birds – refrigerator thawing is generally recommended for whole chickens if time allows).
- Check for Thawing: After the estimated time, check if the chicken is thawed. It should be pliable and not feel rock-solid. The center might still be slightly icy, which is okay, but it shouldn’t be frozen solid.
Step 5: Cook Immediately! (Just Like Microwave Thawing)
- Immediate Cooking is Essential: Just like with microwave thawing, once you’ve thawed chicken in cold water, you must cook it immediately. Do not refreeze or refrigerate to cook later.
- Why Immediate Cooking? Although you’re using cold water, the outer layers of the chicken may still have spent some time in the temperature danger zone. Immediate cooking eliminates the risk of bacterial growth becoming a problem.
Important Tips and Reminders for Cold Water Thawing:
- Temperature Monitoring (If You’re Extra Cautious): For optimal safety, you can use a food thermometer to check the internal temperature of the chicken periodically (if you can do so without compromising the packaging seal). You want to ensure it stays below 40°F (4°C) during thawing.
- Water Temperature Matters: Don’t be tempted to use lukewarm or slightly warmer water to speed things up – this significantly increases the risk of bacterial growth. Cold tap water only!
- Running Cold Water (Optional, But Faster): Some sources recommend thawing under running cold water. This is even faster because the constantly moving cold water maintains a consistently cold temperature around the chicken. However, this uses more water and is not always necessary if you are diligent about changing the water every 30 minutes. If using running water, ensure it’s a gentle stream and still use waterproof packaging.
- Don’t Thaw at Room Temperature: Never thaw chicken at room temperature, whether in water or on the counter. This is extremely unsafe and allows bacteria to multiply rapidly.
- Consider Refrigerator Thawing First: If you have the time, refrigerator thawing is always the safest and easiest method. Cold water thawing is a good second option when you need chicken thawed more quickly but still want to prioritize food safety.
In Conclusion: Cold water thawing is a faster alternative to refrigerator thawing when you’re pressed for time. By following these steps carefully, especially ensuring waterproof packaging and changing the water every 30 minutes, you can thaw chicken safely and get dinner on the table!
FAQ
By following these steps, you’ll have safely thawed chicken ready for your favorite recipes in no time. Happy cooking!
- These defrost times are based on a typical 1000-1100 watt microwave but may need slight adjustment for your specific model. Always check your microwave’s user manual for details on its defrost setting and wattage. ↩︎
Discover more from The Kitchen Code
Subscribe to get the latest posts sent to your email.