How to Achieve Perfectly Cooked Coconut Rice in 30 Mins
Creamy Pressure Cooker Coconut Rice: A fragrant South Indian-inspired dish bursting with aromatic spices and rich coconut flavour. This easy recipe of coconut rice transforms simple basmati rice into an exotic side dish perfect for any meal. Ready in under 30 minutes!
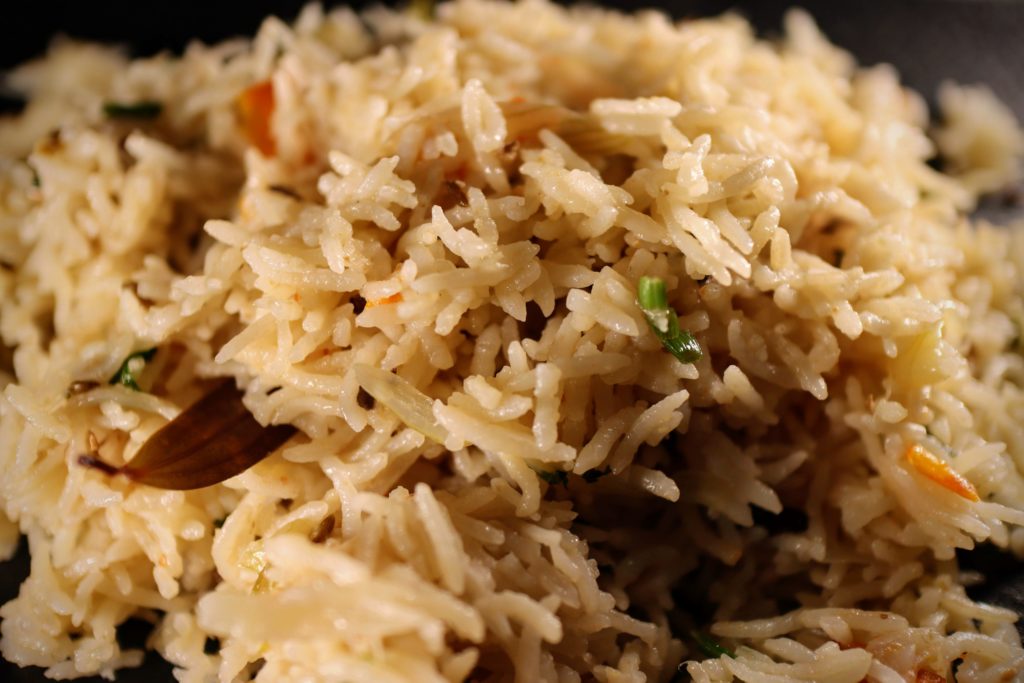
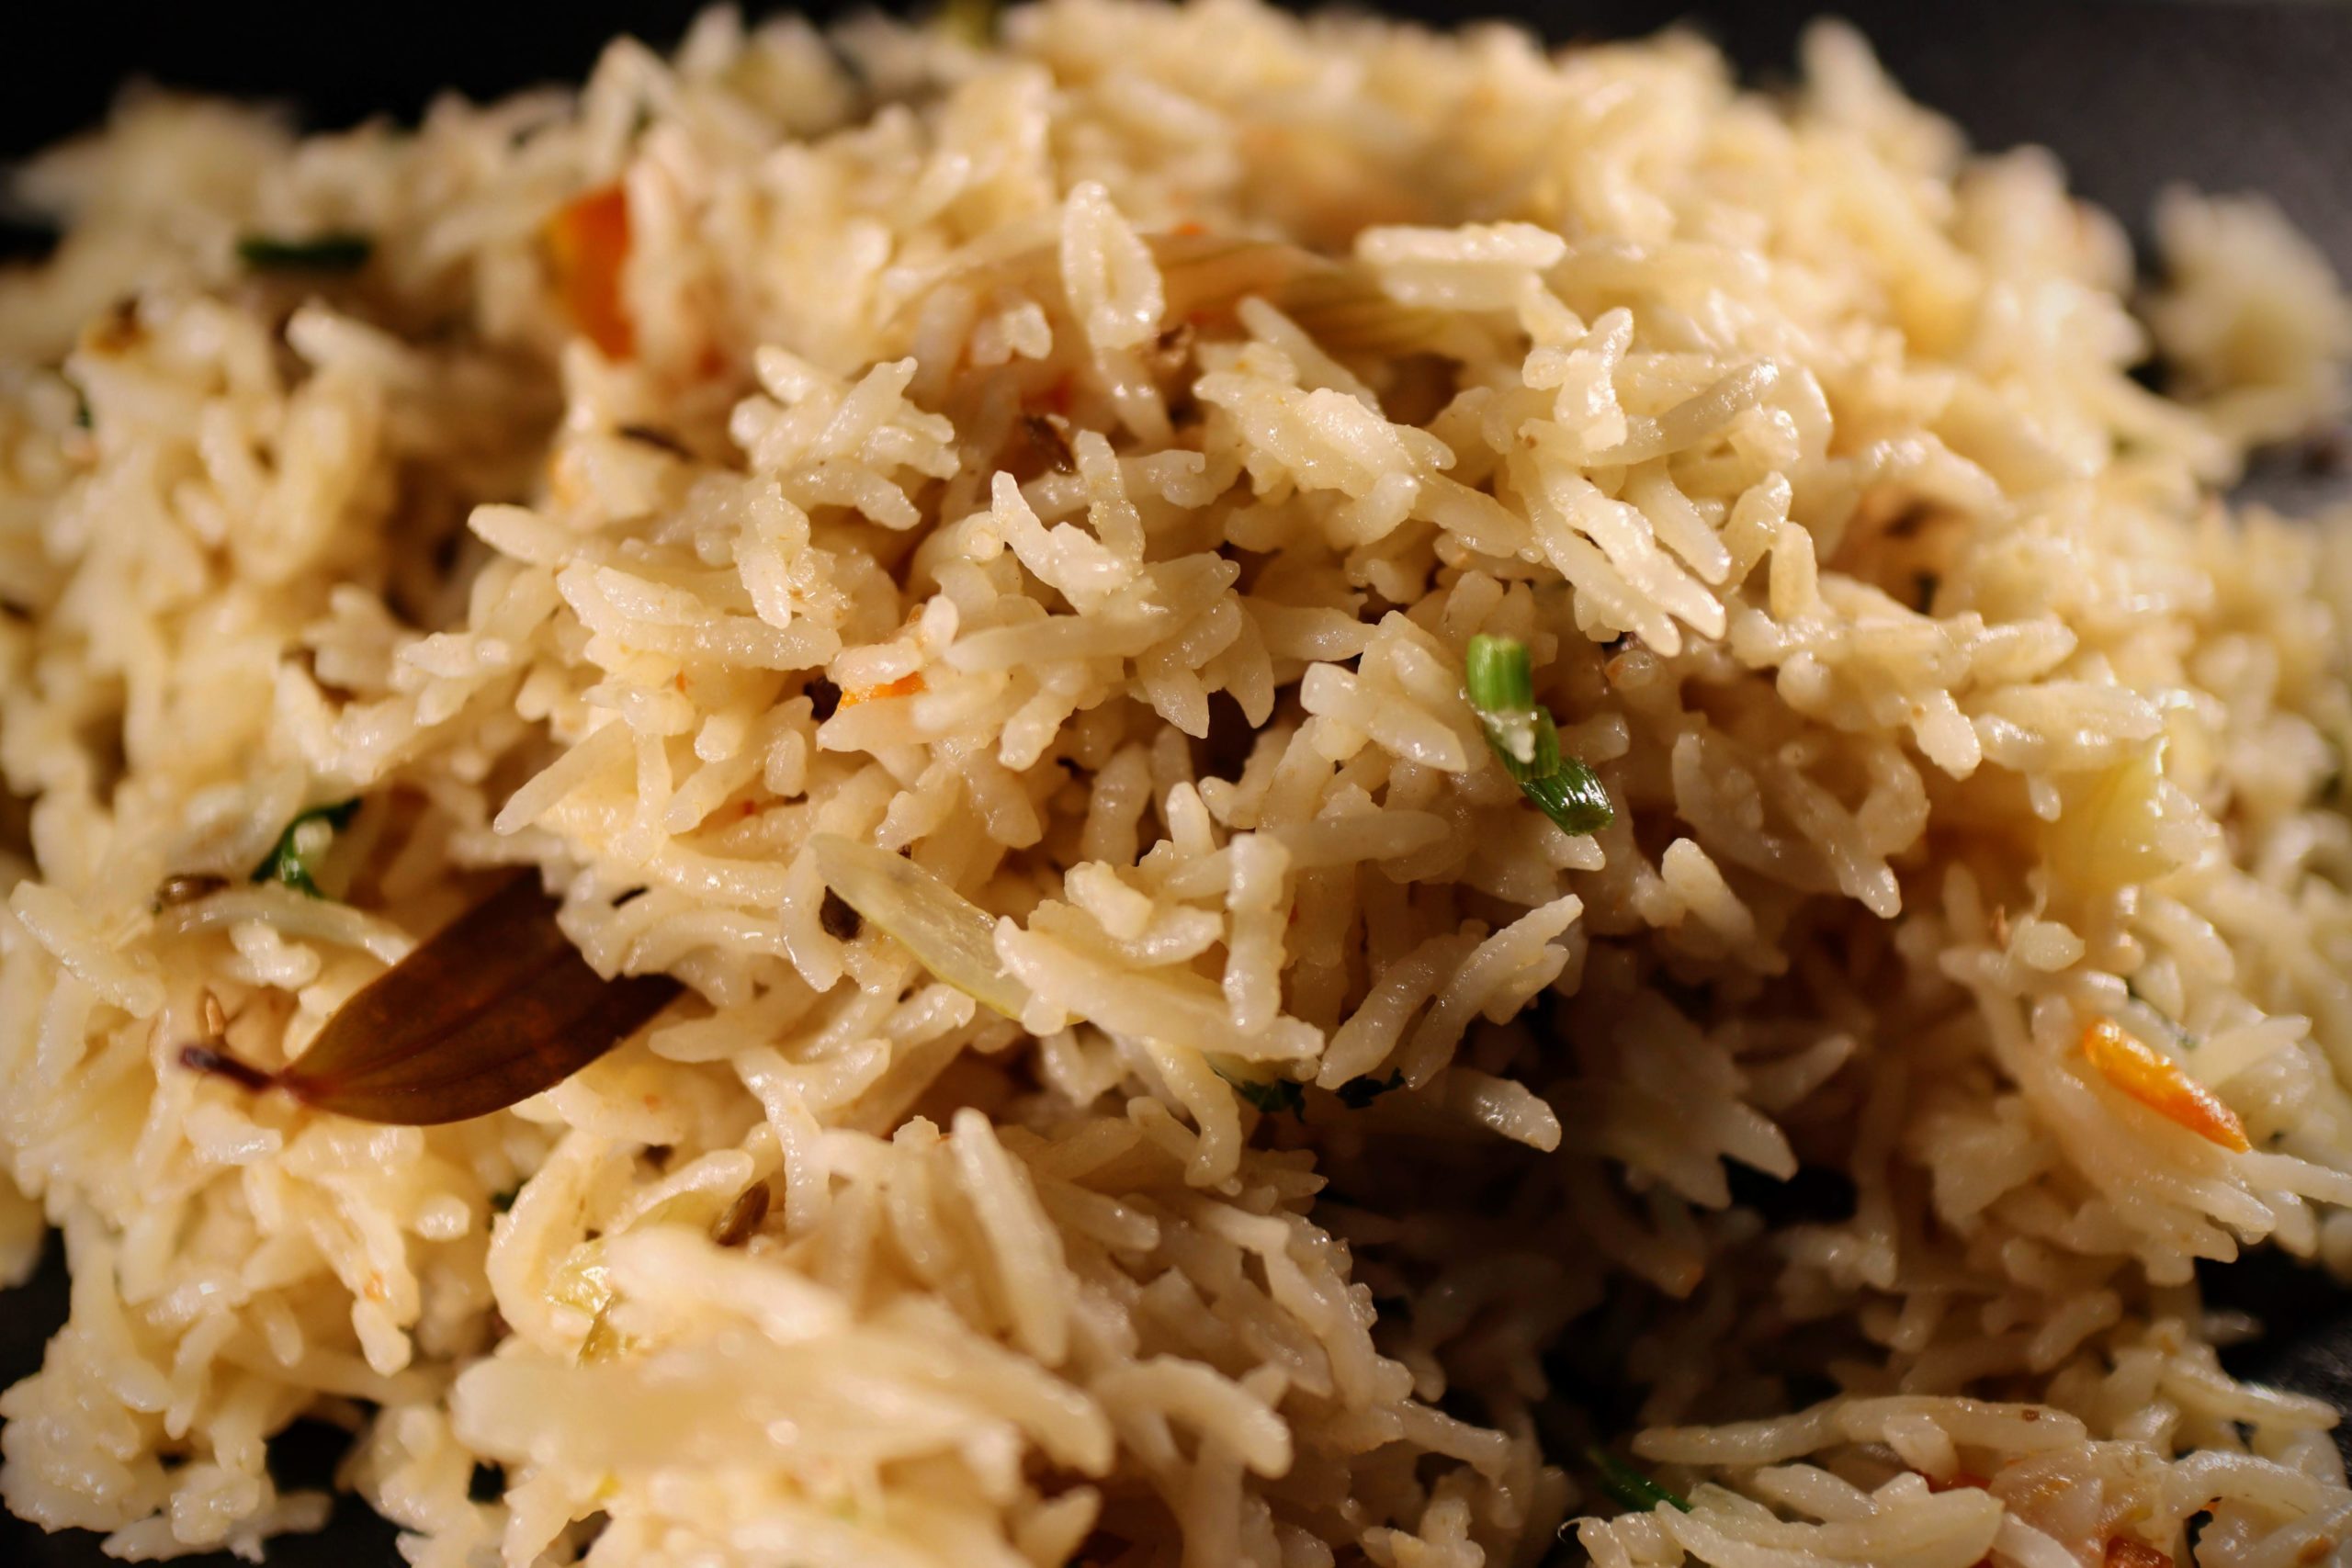
Coconut rice is a delicious and nutritious Indian side dish that is perfect for any occasion. It is made with fluffy white rice, coconut milk, and a few simple spices, such as cumin seeds, cardamom, cinnamon and curry leaves. Coconut rice is a staple food in many parts of India, and it is often served with curries, stews, and other Indian dishes.
Coconut Rice isn’t just about its delectable taste; it’s a powerhouse of health benefits too. Packed with the goodness of coconut milk, this dish is a gluten-free wonder that caters to various dietary needs. With its high fiber content, our Coconut Rice supports digestion and keeps you feeling satisfied for longer, making it a fantastic addition to your healthy eating journey.
The coconut’s immune-boosting properties are a cherry on top! Incorporating Coconut Rice into your diet can help bolster your immunity, keeping those pesky illnesses at bay. And that’s not all – with heart health in mind, our recipe promotes cardiovascular well-being, thanks to the heart-friendly qualities of coconut milk.
Why this recipe of Coconut Rice is the Ultimate Comfort Food
Before we jump into the nitty-gritty of how to prepare coconut rice, let’s take a moment to appreciate this culinary masterpiece. Imagine the fluffiest, most aromatic rice you’ve ever tasted, infused with the rich, creamy goodness of coconut. It’s like a warm hug for your taste buds!
But here’s the kicker – this recipe of rice and coconut isn’t just delicious; it’s also incredibly versatile. Whether you’re whipping up a quick weeknight dinner or impressing guests at a dinner party, coconut rice is your secret weapon. It’s the Swiss Army knife of side dishes, if you will.
How to Achieve Perfectly Cooked Coconut Rice in 30 Mins
Course: Lunch, DinnerCuisine: IndianDifficulty: Medium4
servings15
minutes20
minutes10
minutes45
minutesOne-Pot Coconut Rice Magic! Fluffy basmati grains infused with creamy coconut milk and a medley of aromatic spices. This foolproof recipe of coconut rice delivers restaurant-quality rice in your pressure cooker. Elevate your dinner game in just minutes!
Ingredients
3 medium onions, finely sliced
1 medium tomato, finely chopped
4 tablespoons coconut oil
½ teaspoon fennel seeds
4 crushed cardamom pods
1-inch piece of cinnamon
8 cloves
6 slit green chilies
2 bay leaves
½ tablespoon ginger-garlic paste
2 cups basmati rice
1½ cups coconut milk
2 cups water
Salt to taste
Directions
- Prep Work: Rinse your basmati rice until the water runs clear. This isn’t just busywork – it’s the secret to fluffy, non-sticky rice. Let it soak for about 30 minutes. Meanwhile, chop your onion and tomato, and get your spices ready. It’s like mise en place, but we’re keeping it casual here.
- The Aromatic Base: Heat the coconut oil in your pressure cooker over medium-low heat. Once it’s shimmering (like a mirage in a coconut desert), toss in those fennel seeds, cardamom pods, cinnamon stick, cloves, and bay leaves. Let them dance in the oil for a minute until they’re fragrant enough to make your kitchen smell like a spice bazaar.
- Onion Party: Add your chopped onions. Sauté until they’re translucent, followed by 6 slit green chilies and fry until the Onions become transparent. Don’t brown the onions.
- Tomato Time: Toss in the diced tomato. Cook until the tomatoes break down and start looking a bit saucy. Time to add the ginger-garlic paste. Stir it around for a minute or two until the raw smell disappears. Your kitchen should now smell good enough to make your neighbors jealous. 🙂
- Rice, Rice Baby: Drain your soaked rice and add it to the pot. Stir it gently to coat each grain with the spicy, oniony goodness. This is where the magic begins!
- Coconut Milk Magic: Here comes the star of our show – coconut milk! Pour it in and give everything a good stir. Add salt to taste, remembering that a little coconut milk goes a long way in the saltiness department. Add 2 cups water and stir well.
- Pressure Time: Close that pressure cooker lid and let it work its magic. Cook on medium heat until you hear one whistle, then lower the heat and allow two more whistles. Turn off the heat and let the pressure release naturally.
- The Grand Finale: Once the pressure’s released, open the lid and using a spatula make a gap between the cooked rice and the sides of the cooker and allow it to site for 10 mins. Fluff the rice gently with a fork. Garnish with Coriander leaves. Take a moment to inhale that heavenly aroma. Congratulations, you’ve just mastered the art of cooking coconut milk rice! Serve hot
Recipe Video
Notes
- Use Brown Rice: Instead of using white rice, opt for brown rice. Brown rice is a whole grain that contains more fiber and nutrients.
- Control Portion Sizes: Coconut rice is calorie-dense, so it’s important to watch your portion sizes. Stick to a reasonable serving size to avoid consuming excess calories.
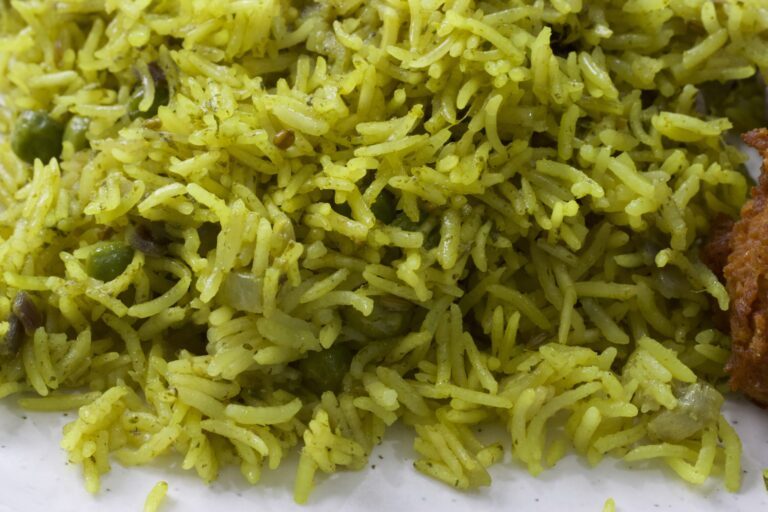
- Add Vegetables: Incorporate vegetables like peas, carrots, or bell peppers into your coconut rice recipe to increase its nutritional value.
- Use Light Coconut Milk: If you’re concerned about the high fat content in coconut rice, you can use light coconut milk or dilute it with water to reduce the overall fat content.
- The quantity of water added is important to avoid rice turning mushy which spoils the texture of the dish
Serving Suggestions
Now that you’ve nailed the recipe coconut rice in rice cooker (or pressure cooker, in our case), let’s talk about how to serve this beauty. Here are some ideas to get your creative juices flowing:
- Curry’s Best Friend: Pair it with your favourite curry – whether it’s a spicy vegetable curry, shrimp curry, chicken or a creamy korma, this rice can handle it all.
- Veggie Delight: Stir in some sautéed vegetables for a complete meal. Think bell peppers, peas, and carrots for a rainbow in a bowl. Enjoy it with a side of crispy papadam and a dollop of refreshing raita for a well-rounded dining experience.
- Protein Power: Top with grilled shrimp or chicken for a protein-packed meal that’ll keep you full and satisfied.
Storage and Reheating: Because Leftovers are Life
Made too much? No worries! Here’s how to store and reheat your coconut rice:
- Cool it Down: Let the rice cool completely before storing.
- Container Magic: Store in an airtight container in the fridge for up to 3 days.
- Reheat Right: Add a splash of water before reheating in the microwave or on the stovetop to bring back that creamy texture.
Health Benefits: Not Just a Pretty Plate
Before you start feeling guilty about indulging in this creamy delight, let me drop some knowledge on you. Coconut rice isn’t just delicious; it’s got some serious health perks too:
- Energy Boost: The medium-chain fatty acids in coconut milk provide quick energy without the crash.
- Digestive Health: The fiber in rice aids digestion, keeping your gut happy and healthy.
- Immune Support: Coconut contains lauric acid, which has antimicrobial properties.
- Hydration Hero: Coconut milk helps keep you hydrated, perfect for those hot summer days.
Final Thoughts: You’re Now a Coconut Rice Connoisseur
And there you have it, folks – the ultimate guide to creating coconut rice that’ll knock your socks off. From the ingredients for coconut rice to the final flourish, you’re now equipped with all the knowledge you need to become a coconut rice maestro.
Remember, cooking is all about experimentation and fun. Don’t be afraid to tweak this recipe of coconut basmati rice to suit your taste. Add some nuts for crunch, throw in some raisins for sweetness, or spice it up with extra chillies.
Until next time, keep those pots sizzling and those taste buds tingling.
Discover more from The Kitchen Code
Subscribe to get the latest posts sent to your email.


3 Comments